
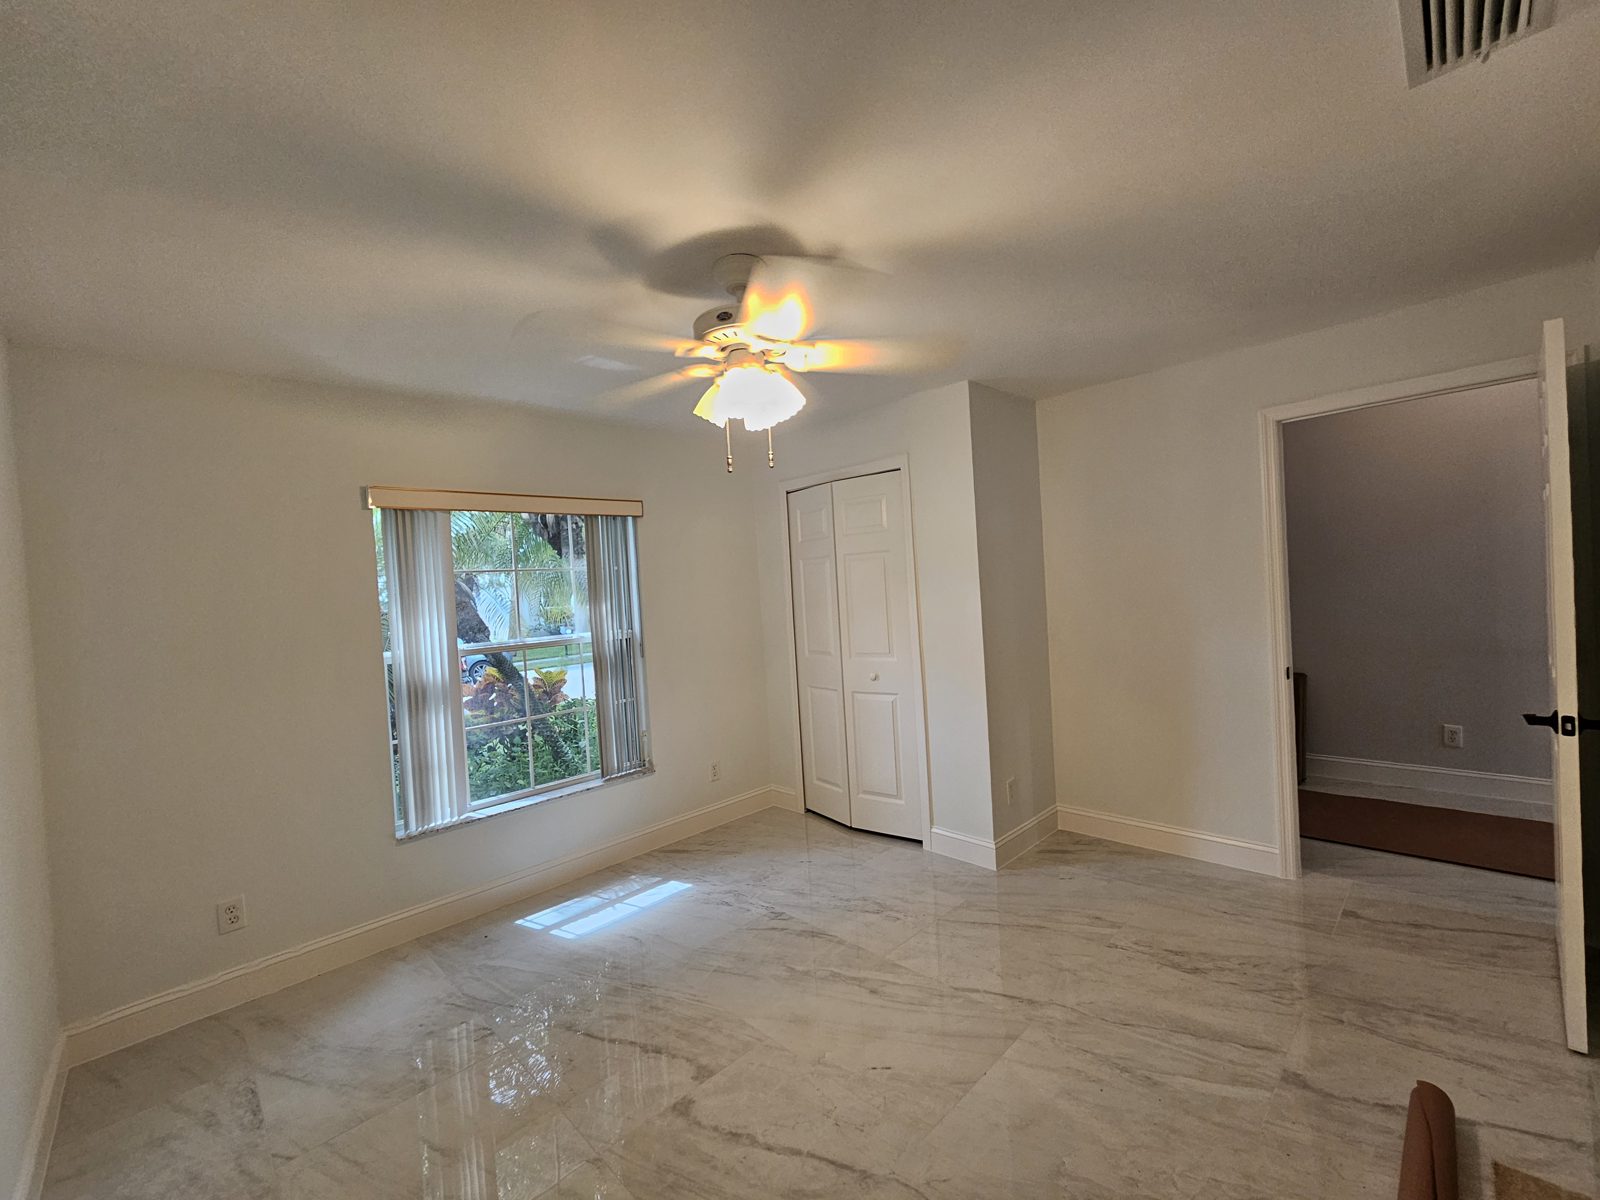
Plan transitions when you pick materials by room, using moisture-appropriate underlayment and matched transitions at each boundary. A transition is the strip or joint where one floor meets another. Urban Remodeling builds these details into every flooring plan, so the floor looks finished from room to room.
This guide walks through how to plan transitions before you order, so there are no surprises on install day.
What is a flooring transition?
A flooring transition is the piece or joint where two floor surfaces meet, such as where a hallway floor meets a bathroom or a kitchen. It covers the gap, handles any height difference and gives the boundary a clean look.
Common types include a flat threshold, a reducer that ramps down to a lower floor and a T-molding that joins two floors at the same height. Some floors meet with no strip at all, if the materials and heights allow it.
Transitions matter for how a home looks and feels. A rough or uneven edge catches toes and wheels, and a mismatched strip stands out. Our plans include matched transitions between rooms, so the color and finish tie the spaces together.
Where do transitions land in a mixed-material plan?
Transitions belong at natural boundaries, such as doorways, openings and changes in use. Put them where a door closes or where the floor changes purpose, so the line looks planned.
Follow these steps to map them out:
- Sketch the floor plan and mark every doorway and opening.
- Decide which material goes in each room.
- Mark each spot where one material meets another.
- Note the height of each floor at those spots.
- Choose the transition type for each boundary.
- Check that the transition sits under a closed door, when possible.
A doorway is the easiest place to hide a transition. Under a closed door, the strip tucks out of sight. In an open area, a seam in the middle of the room is harder to hide, so try to avoid it.
Pattern direction matters too. Planks look best when they run the same way through connected rooms. Changing direction at a doorway is fine. Changing direction in the middle of an open space looks odd.
What changes between tile and vinyl plank?
Tile and vinyl plank usually sit at different heights, so the transition has to bridge the difference. Tile is often thicker, and the surface may sit higher than vinyl plank next to it.
That height difference decides the transition type. A small difference calls for a reducer that slopes gently. A larger one may need a different plan, such as adjusting the base or underlayment so the two surfaces meet closer to level.
The materials also behave differently. Tile is rigid and does not move. Vinyl plank can shift slightly with temperature, so it needs room at its edges. The transition should allow for that, without trapping or pinching the plank.
If you are weighing materials by room, bring that choice to the planning stage. Picking tile for one room and vinyl plank for another is common in Florida homes, and the transition is easier to plan when both are chosen up front.
Why does underlayment matter at room boundaries?
Underlayment sets the height and protects the floor from moisture, so it affects how well a transition works. Our flooring plans include moisture-appropriate underlayment under each material.
Florida homes deal with humidity, and some rooms are wetter than others. A bathroom, a laundry room and a kitchen need more care than a bedroom. Using the right underlayment in each room helps the floor handle the conditions it will live in.
Underlayment also changes floor height. Each material may need a different underlayment, so the finished floors can end up at different heights. That is why we plan the layers, and not only the visible floor, before the order goes in.
If you live in or near Port St. Lucie, our Port St. Lucie service area page shows the area we serve there.
What do you check at the final walkthrough?
At the final walkthrough, check each boundary for a clean, level fit, a matched color and a secure strip. Walk every doorway and run your foot over the transition.
Use this short list:
- The transition strip sits flat and does not rock.
- The color and finish match the nearby floors.
- No gaps show at the ends of the strip.
- Doors open and close over the transition without rubbing.
- Floors on both sides feel level to walk across.
Tell the crew about anything that looks off while they are still on site. It is easier to adjust a strip then than after the job is done.
Before any of this starts, Urban Remodeling puts one written scope and price in front of you, so you know what is included. We serve Vero Beach, Sebastian, Fort Pierce, Port St. Lucie, Stuart and Melbourne.
If you are planning new floors, request a free estimate from Urban Remodeling at (772) 404-8397, and we will walk through the transitions with you before anything is ordered.
Thinking about this project?
Request a free estimate. We’ll walk the space with you and put a written price in front of you.
Call (772) 404-8397 Request a Free Estimate