
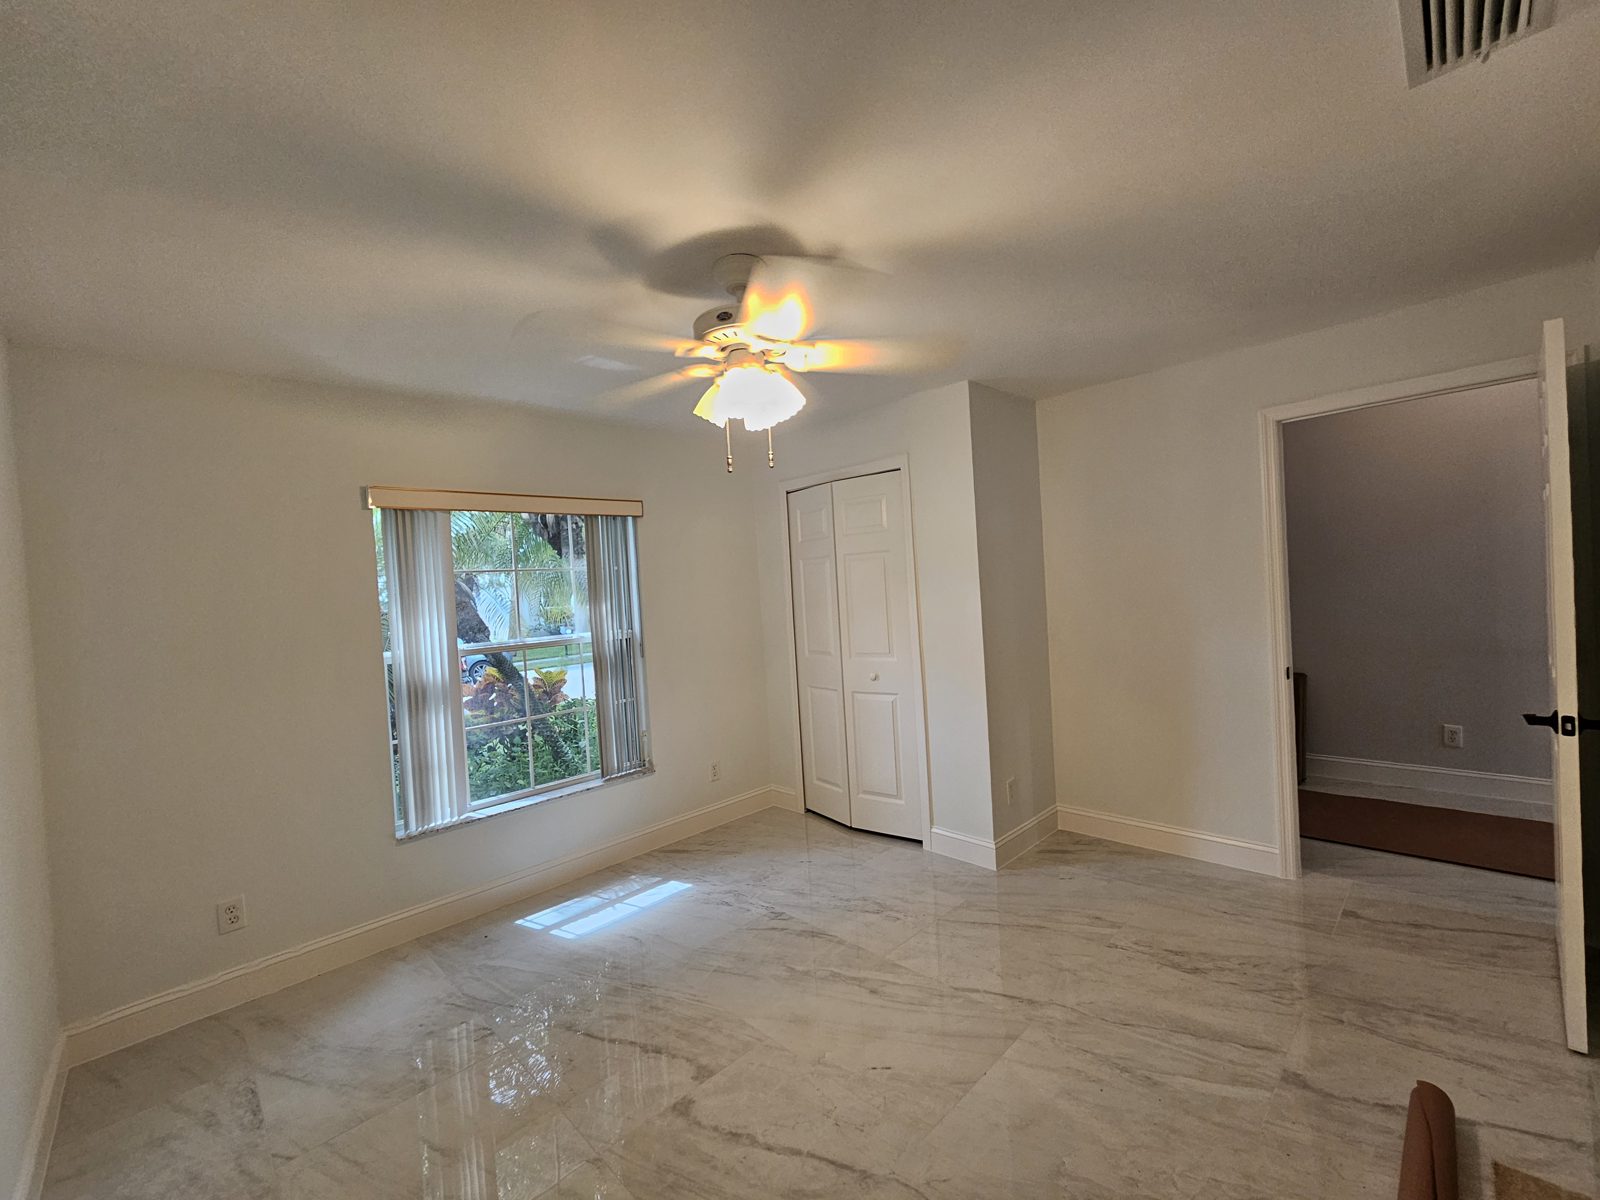
A flooring installation has more steps than most homeowners expect. The work usually starts with a subfloor check and a moisture check on concrete slabs. Then the old floor is removed, the new floor goes down, and the trim and transitions are finished. Knowing each step helps you plan your days at home.
For a broader look at choosing floors for our climate, read our guide on the best flooring for Florida homes. This article covers what happens once you have picked a floor.
Step 1: Check the Subfloor
The subfloor is the layer under your finished floor. It must be solid, flat, and dry before new flooring goes down. A crew will walk the room and look for soft spots, loose boards, squeaks, and uneven areas. Those problems show up under new flooring, so they need attention first.
Plan for repairs if the subfloor needs them. Fixing a soft board or leveling a low spot takes time. It is better to find these issues early than to discover them after the new floor is laid.
Step 2: Test for Moisture on Slabs
Many Vero Beach homes have concrete slabs. Concrete can hold moisture, and Florida humidity makes the problem more likely. Too much moisture can cause adhesives to fail, cupping in wood, or cloudy spots on some finishes.
A moisture test shows how much water is in the slab. The result helps decide the right underlayment, adhesive, or moisture barrier for the floor you chose. If the test shows a problem, the plan may change before any new flooring is delivered.
Step 3: Prepare the Rooms
Moving furniture is one of the biggest jobs before installation starts. Clear the room of furniture, rugs, lamps, and wall hangings. Take pictures of anything that needs to be moved carefully, and remove small items from shelves and counters.
Ask the crew how they will handle heavy pieces. Some homeowners move furniture themselves. Others prefer a team to do it. Either way, clear the path from the door to the room so workers can move around safely.
Step 4: Install Days
Install days vary by project size, floor type, and the room layout. Tile, plank, and engineered wood each have their own method. Some floors click together, while others need glue, nails, or a float. The crew will explain what the floor needs before they start.
Expect noise and dust. Cutting tile or sanding edges can make both. Ask about dust control, especially if someone in the home has allergies or breathing issues. Keep pets and children out of the work area for safety.
Keep an eye on the layout as the floor goes down. Check the lines, the gaps at the walls, and the joints between pieces. Good layout work makes a room look finished, and it is easier to fix while the work is still going on.
Step 5: Trim and Transitions
Trim finishes the look. Baseboards, shoe molding, and quarter-round cover the gap at the wall. Transitions connect the new floor to other floors, such as a tile to wood change at a hallway or doorway. Each transition should sit flat and feel smooth underfoot.
Ask how the transitions will be handled. A clean transition makes the change between rooms look planned, not patched together. It also helps prevent trips at doorways.
Step 6: Cleanup and Final Walkthrough
Cleanup is the last part of the job. Dust, adhesive spills, leftover pieces, and packaging should be removed from the home. Floors should be swept and wiped so the new finish looks its best. A final walkthrough lets you check the floor, the trim, and the transitions together.
Ask for a clear walkthrough before the crew leaves. Look at the surface in daylight, and point out any spots you want corrected. Good communication at the end makes the project feel complete.
What to Plan Before the Crew Arrives
- Clear rooms of furniture, rugs, and small items.
- Plan where pets and children will stay during the work.
- Confirm access to the home, including parking and gate codes.
- Ask how dust will be controlled in nearby rooms.
- Decide where furniture will go once the new floor is down.
Questions to Ask Your Installer
- How will you check the subfloor and the slab for moisture?
- What repairs might be needed before installation?
- How will you handle furniture and heavy pieces?
- What trim and transitions are included?
- Who will walk the finished floor with me?
How Your Project Stays Organized
A flooring project works best with a clear plan. Urban Remodeling provides one written scope and price before work starts, so you know what is included. Permits are pulled for you, and inspections are handled for you, so you do not have to chase each step.
Schedule Your Free Estimate
A good flooring installation starts with a clear plan and careful prep. Our team can walk through your home, check the subfloor, and talk through the options that fit your rooms. Learn more about our flooring installation service and what it includes.
Urban Remodeling offers free estimates for homes in Vero Beach, Sebastian, Fort Pierce, Port St. Lucie, Stuart, and Melbourne. Visit our office at 1125 US Hwy 1 in Vero Beach, or call (772) 404-8397 to schedule your free estimate today.
Thinking about this project?
Schedule your free estimate. We’ll walk the space with you and put a written price in front of you.
Call (772) 404-8397 Request a Free Estimate