
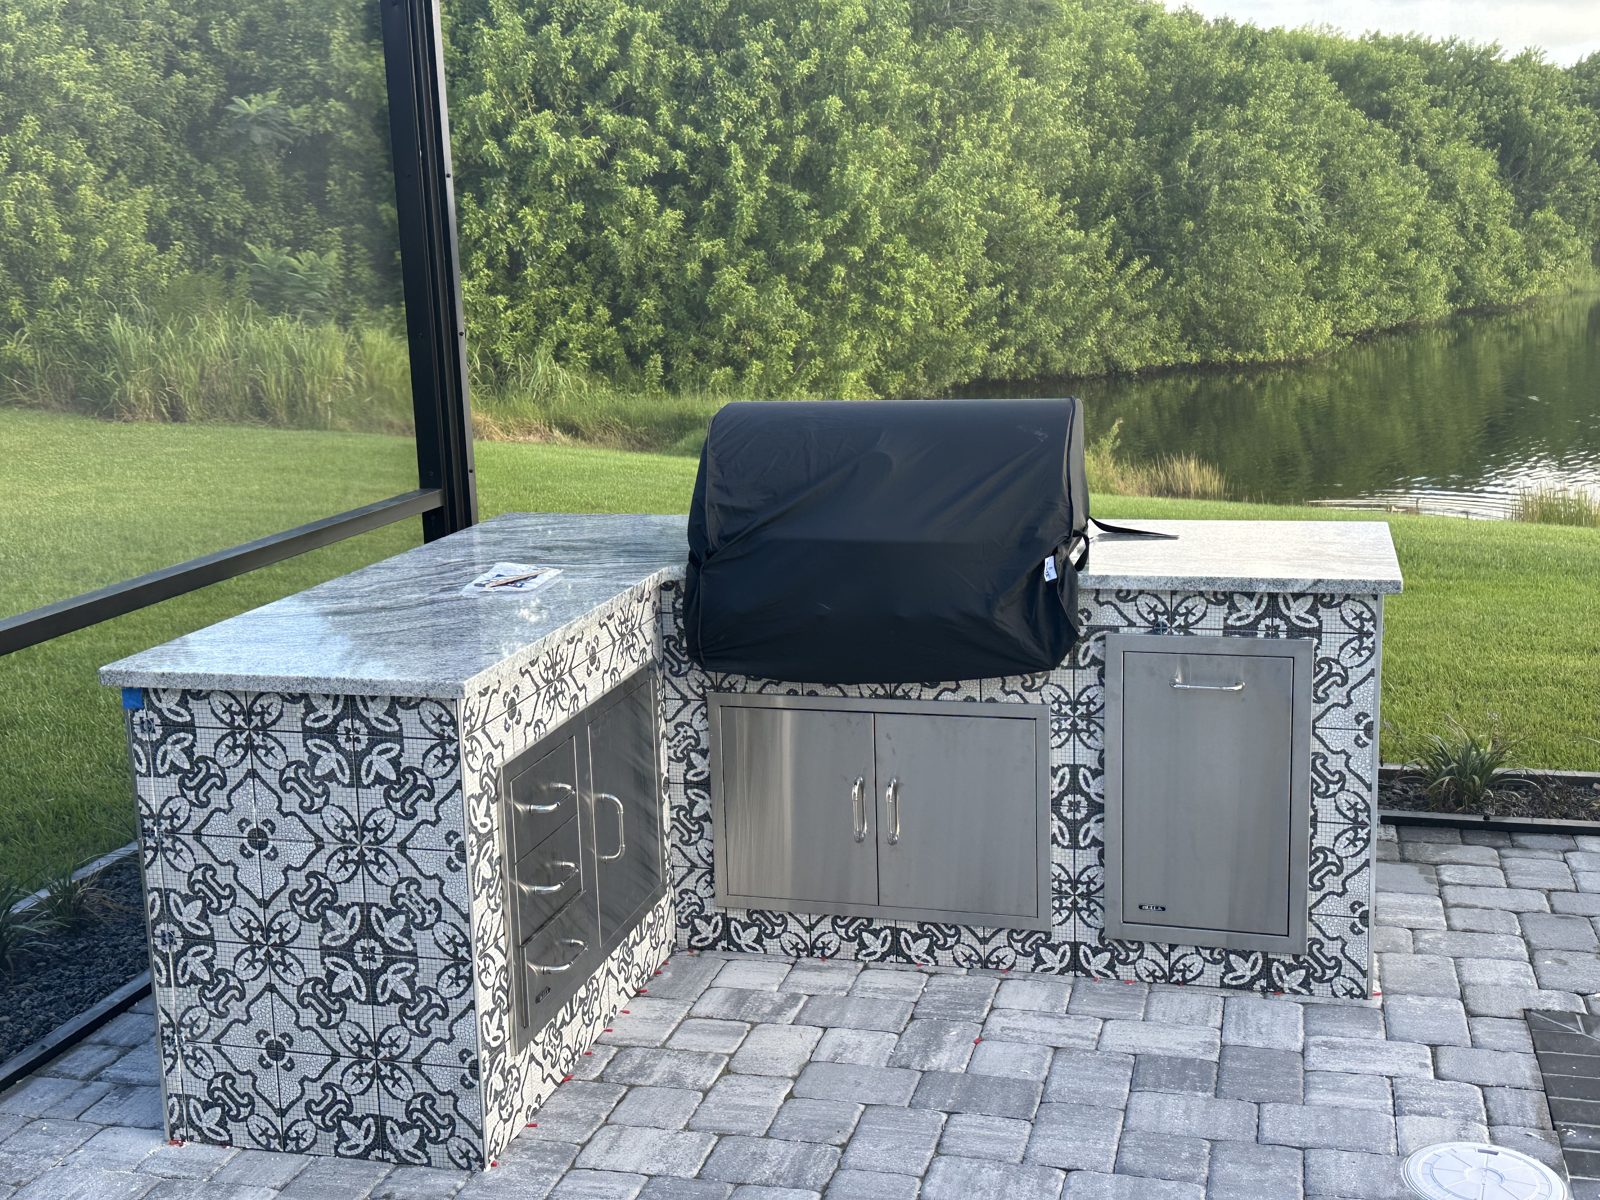
An outdoor kitchen is a bigger project than most people expect. It moves through layout, slab work, utilities, appliances, and finish materials, and each step depends on the one before it. Knowing the order of the build helps you plan the budget, the timing, and the daily life of your home during construction.
Start With Layout and Use
Begin with how you plan to use the space. Do you cook for a few people, or for large family gatherings? Do you want a grill only, or a full setup with a sink, a fridge, and counter space? The answers shape the footprint, the location, and the connections you will need.
Think about the path from the house to the kitchen. Carrying plates and food should feel easy. Consider how the space will look from inside the home, and how it will work with the pool, the lawn, or the existing patio. A good layout looks at the yard as a whole.
- How many people you expect to cook for at one time
- The appliances you want, such as a grill, burner, sink, or fridge
- Counter space for prep and serving
- Shade, wind, and how the sun moves across the yard
- Storage for tools, cushions, and cooking supplies
Plan the Slab and Base
Every outdoor kitchen needs a solid base. The slab or footing must support the weight of the masonry, the counters, and the appliances. It also needs to drain well, since Florida rain can arrive fast and in large amounts. Ask how the slab will be prepared and how the surface will slope away from the home.
The base should match the rest of the layout. If the kitchen connects to a patio or pool deck, the materials and heights should line up. A clean transition makes the whole outdoor area feel finished.
Map the Utilities Early
Utilities are one of the most important steps. A gas grill or burner needs a safe gas line. A sink needs water and drain lines. Any light, outlet, fan, or refrigerator needs power. These lines should be planned before the masonry goes up, because changes later are harder and more costly.
Ask who will run each line and where the connections will be. Mark the locations on your site plan. Clear planning here prevents delays and avoids cutting into finished surfaces.
Choose Materials for Florida Weather
Outdoor kitchens face sun, rain, salt air, and humidity all year. Choose materials that can handle this weather. Stainless steel, sealed stone, and weather-resistant tile are common choices, but each one needs proper installation and care. Ask how each material will hold up on the Treasure Coast, and what maintenance it will need.
Cabinet materials matter too. Look for options made for outdoor use, and make sure doors, drawers, and hinges are rated for the conditions. Covering and shading the kitchen can extend the life of the finishes.
Understand the Permit Steps
Many outdoor kitchens need permits, especially when gas, electrical, or plumbing work is involved. Permits protect you and the project. They also create a record that the work was reviewed. Permits are pulled by the contractor, and inspections are handled for you. Ask your contractor which permits apply to your plan and when each one is needed in the schedule.
Permit timing can affect the start date. Ask for a schedule that shows when the drawings will be submitted, when the work can begin, and when the final inspection is expected.
Follow the Build Sequence
A typical build moves in a clear order. The site is cleared and marked. The slab or footing is poured and allowed to cure. Utility lines are run and tested. The masonry walls and counters go up. Appliances are set and connected. Finish materials, such as tile, stone, or stucco, come last. Each stage needs a short pause for inspection and for the materials to set.
Weather can change the schedule. A heavy storm can delay pouring or masonry work. Ask how weather days are handled and how the timeline will be updated if the schedule shifts.
Get One Written Scope and Price
Before work starts, you should have one written scope and price. The scope lists the layout, the appliances, the materials, the utility work, and the permit steps. Read it closely and ask about anything that is unclear. A clear written plan keeps the project on track and protects both sides.
Walk the Finished Space
At the end of the build, walk the space with your contractor. Check the surfaces, the connections, and the appliances. Test the gas, water, and lights. Ask for a short walk-through of how to use each appliance and how to care for the materials. This final review makes sure the kitchen is ready for your first family meal.
Questions to Ask Before You Start
- What does the written scope include, and what is excluded?
- Who pulls the permits, and who handles the inspections?
- How are utility lines planned and tested?
- What materials are recommended for our weather and yard?
- How are weather delays handled on the schedule?
Plan Your Outdoor Kitchen With Urban Remodeling
Urban Remodeling is based in Vero Beach at 1125 US Hwy 1. We serve Vero Beach, Sebastian, Fort Pierce, Port St. Lucie, Stuart, and Melbourne. We handle outdoor kitchens and patios, along with kitchen, bathroom, whole-home, and flooring remodeling. If you are still deciding on the layout, our guide to outdoor kitchen and patio planning covers the early choices. You can also learn more about our outdoor kitchens and patios services.
Ready to plan your outdoor kitchen? Call Urban Remodeling at (772) 404-8397 for a free estimate. We will review your space, your goals, and the steps that fit your yard.
Thinking about this project?
Call (772) 404-8397 for a free estimate. We’ll walk the space with you and put a written price in front of you.
Call (772) 404-8397 Request a Free Estimate